
[I'm going to be making some notes and suggestions as I go along, all in italics and inside of brackets like this. All of the plain text is the different parts of the hunt itself - for posterity and to record the story of the Key of Hope.]
This quest takes you into the Valley of Ish'Nar in search of the key and the scroll needed to renew the seal holding the demon prince Val'baan in his prison. You will receive further instructions from the Bard Queen as to the task she has set for you. For now, be content knowing that your actions complete a journey that will, if successful, save the Fairelands from certain darkness.
.: To begin you must meet with the Bard Queen at the entrance to the Valley. She will prepare you for the dangers and traps that await you beyond the valley walls. Your goals are multiple. You will be asked to solve puzzles as well as seek out items. The tasks will not be easy, but the rewards for completion will be fitting of your labours.
.: As you travel through your adventure the Talisman will reflect your progress, resonating with the prison's holding spells as you take each step closer to the final battle. It will also provide advice and clues as you go, since this adventure is an interactive story that will supply more information to you the deeper you journey into it. Make sure to be observant of your environment, and click the HUD for information as you progress. This will help when puzzles confront you.
.: Please note, any hunt items you are asked to find do not give out prizes. You must complete all the puzzles and collect all the items as you journey forward on your quest. Once successful, you will gain your final reward. When you have restored the seal on Val'baan's prison, follow the instructions given to you in chat to find out how to collect the treasures that await.
.: For extra help ask in FFC Fantasy Faire group chat. You can also IM Elizabeth Tinsley with technical issues. For help with finding items ask in the group.
Game begins at: Valley of IshNar (20,121,21)
Key of Hope~Final Chapter HUD [wear]: There has been an unexpected development while you gathered the components for your amulet. The messenger we expected turned out to be no messenger, but the hero Kazumon and his page Albrecht. They already had protections and went ahead, but have not been heard from since. I fear for them, and would ask you a favour: since I cannot enter the valley, will you? Find their camp and aid them as best you can. If they are wounded, or worse, take up the scroll and key and seal the prison yourself. There will be challenges ahead, but I believe that you can surmount them.
First, you will have to assemble the golems who will open the passage to the Valley. I do not know why Kazumon chose to break them, but broken they are and you must repair them before you are allowed to enter.
Go well, hero, and return safely.
[Find the three items in the sim - all of them reasonably nearby - and click on them.] You found all three parts now. Hurry back to the golem statues.
[Click on the golems.] Use the passage to enter the valley.
[Click on the glowing passage.] Behold: the Valley of Ish'Nar. Where a hermit once tended his library, now there is only desolation. Move swiftly, find Kazumon and his page and do what must be done! Start the search from their camp.
[Go searching for the camp. and look around.] But wait, there is a letter...
"Dearest Elizabeth, Things are quiet here, Kazumon says they are too quiet, but I think he's getting twitchy in his old age. We have a decent camp and our blankets are dry, which is better than things have been of late. We will approach the prison tomorrow, and K says that today he will climb the tower to see if he can find the catacombs we heard of on the way here. He thinks he'll find treasure down there, I'm sure, but if it makes him happy I see no harm in it. The entrance is concealed, he says, so I think he may have to search for it.
K has taken the scroll with him, leaving the key here with me. Safer that way, he says, but I think it might be because he wants to be able to carry more on the way out!
[Find the key.] There! This is the Key of Hope, which will open Val'Baan's prison. With this key and the ritual scroll, you can seal him in once and, hopefully, for all. Kazumon, though, seems to have gone on. You should find the tower mentioned in Albrecht's letter.
[Find the Tower.] Behold Ish'Nar's secret: not magician as some claimed, but a mechanical genius, far ahead of his time. His magic was one of cogs and gears, a different knowledge, and one that would not clash with the spells that had hold Val'Baan. Consider these lights and levers, and you will find the way onward.
[Solve the Tower Puzzle - Each control is it's own individual control, so four people can work at once.] Excellent! Now, the letter also mentioned catacombs. You should find them.
[Find the catacombs - make sure to use the ladder to climb down. If you fall, you can fall under the catacombs and get stuck (if you get stuck, use the latter to crawl out and then back in again).] Alas, poor Kazumon. But the scroll seems to be safe: there lies the case before you. The combination must, I am sure, be something relevant, but perhaps Kazumon was able to leave some kind of clue in his last moments. Open the case, then, take its contents and the key and finish what he and Albrecht started.
[Look around for clues.] Blood: Another letter! These must spell the solution to the cryptex. [Enter the letters by clicking on each band until the word is spelled out.]
 The scroll destroyed... but there is another. The Pirate Queen Rynn somehow came into possession of the original that Meldia and her heroes used a hundred years ago, and buried it in a secret place. The map is known to be held by Pi Rain, but they have lent it to a writer of my acquaintance. Find his workplace, steal the map and follow its trail. Von Trips (208,33,22)
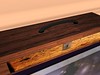 Good, now to track down the scroll! I have sent a water sprite, to watch over it for you and she tells me that it is guarded by a colourful bird. Loring Park Place (41,27,31)
 Here is the scroll case, but of course it's been locked. You must translate the inscription to open it. My agent has already retrieved one and is waiting for you to consult it. La Bella Luna (100,151,1004)
 We have the key's location! Someone else has been searching for it, but even breaking the furniture didn't help them. Find it before them and they'll be left eating crow. Slaughterhouse (223,128,44)
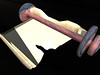 [Find the key.] The box opened at last - but alas, the scroll is damaged! But we are lucky - there is enough here to give the complete text, but you must have an intact scroll from which to work. First, you will need parchment. Time to rest for a moment, take stock and consider some of the others who have been on this journey before you. The parchment will be easier to find if you do. Voodoo (163,223,26)
 Now all that is required is ink of a suitable quality. My spies tell me that some is kept close by a slim gentleman whose place of rest has quite a view of the bay. FATEisland (154,51,34)
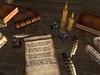 And now, we make the scroll. Go to the island of Ode, then through the woods; on the cliffs looking south, you will find the house of scribe Lorin. Use what you have there to make your new scroll. Ode (174,196,76)
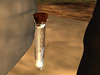 Now to finish the preparations with enchanted oil. The Dwarfins, ever friends, tell me that a suitable vial is held safely here, "Ever-lit," they say, "even when the moon shines upon it." Dwarfins (38,119,23)
[Find the vial - a walk form the landing point.] It is done! The scroll is complete. With this and the key, you can reach Val'Baan's prison and seal the breach. Return to the Valley, make your way to the temple by the waterfall and prepare to face the Demon Prince himself... Valley of IshNar (72,123,21)
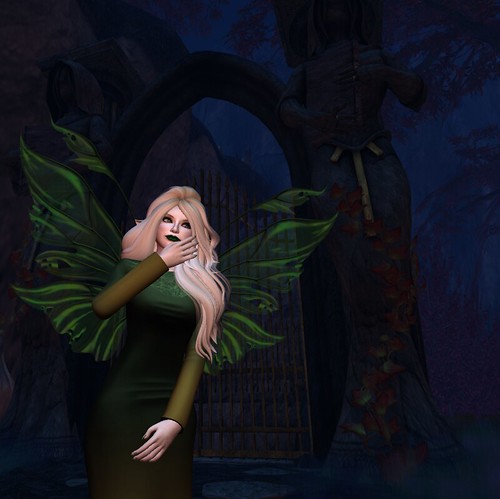
[Go to the gate flanked by two sculptures holding books.] Ah, Ish'Nar; he did like his puzzles, didn't he? If you are to pass this way and reach the temple, you should consider the statues: are they as alike as they first appear?
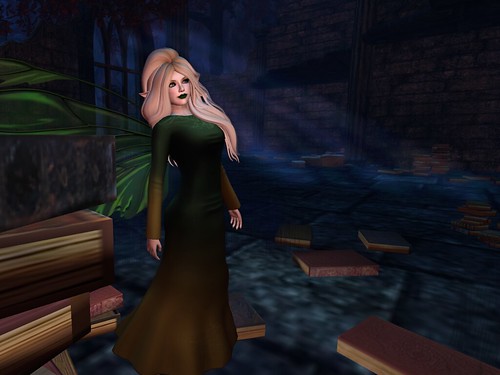
[Find the four differences between the two of them to get through. If other people are trying at the same time, you may interrupt each other, so take it in turns.] Success! Press on, now, up the steps, through the old library and on towards the Temple.
[Find the entrance to the temple.] Beyond this point lies the way to Val'Baan's prison. The combination is already with you - enter it and pass through.
[Solve the combination.] This temple is the outer chamber of Val'Baan's prison; counterpart to his cell in the otherworld, sealed five ways to prevent his escape. Yet there, the crack through which he will come if he is not stopped. A century ago these seals were placed, and now you must place them alone, His escape route is your entrance; steel yourself and step through.
[Click on the crack.] You have reached Val'baans cell at last. Where five once stood to align the seals and complete the ritual you must do it alone - hurry! With the scroll upon the altar, trace the pattern, make darkness into light and stop the demon prince from escaping!
[Click the scroll. One person needs to do this at a time or you can interrupt each other.] This scroll contains the combination you need for the seals. Quick! Don't let the Demon Prince escape!
[The hardest part is, once you figure out the direction, clicking on the proper runestones. Keep in mind each has a halo around it, which means if you're clocking some in the back, you can hit the front in error. I ended up de-rendering most of the surrounding building to get an angle which could encompass everything without the light over-lapping.]
And so the Fairelands are safe, and with them the world. You have stood against evil and darkness and death, and carried a torch of hope that will light the way for all who come after you. It is hope that carries us forward, and each one of us sleeps a little easier because that hope is fostered by the knowledge that people fight for us, to keep us safe, to heal and to defeat the evils that can strike at any one of us. You are our hope, and we all thank you.
It is fitting, then, that you are rewarded. Go to the great wall, and claim your prizes from the great chest.
[Click on the giant chest] And thus are you rewarded. Go in safety with our thanks, hero. Perhaps, if trouble rises again, we shall call on you once more. Farewell.
( More pictures here. )
Credits:
Skin: De La Soul, Candace (promotional item)
Eyes: De La Soul, Rainbow (promotional item)
Ears: Illusions, Seelie Ears
Eyelashes 1: SLink, Mesh Lashes
Eyelashes 2: Flugeln Brise, 05-A
Eyeshadow: Elymode, brown and gold
Lipstick: Adore & Abhor, Lips Grass
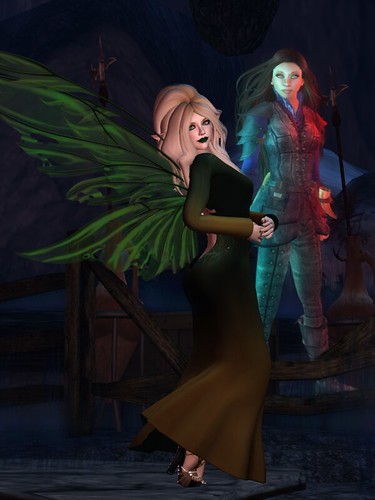
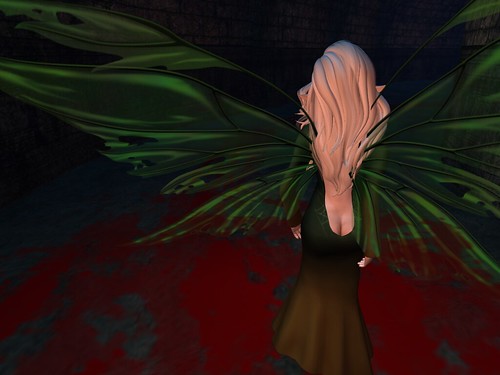
Hair: Exile, Fire to the Rain
Wings: Fancy Fairy, Azarelle
Dress: Rue, Threads/Midnight Caress
Hands: SLink, Mesh Hands
Nails: Orc Inc, Glitterslash
Shoes: Felicity, Nadine (Steals & Deals, promotional)
Poses: !bang
Location: Various Locations along the MadPea Hunt
Light Settings: Sim Default
Water Settings: Sim Default
Photographed by Deoridhe Quandry
Post processing: Cropping, only
No comments:
Post a Comment